
DIY: How to Lay Tile?
-
 Plaza Ontario

What You’ll Need: Tools and Materials
Before you begin, it’s essential to gather all the tools and materials you’ll need for the job. Here’s a basic list of what’s required:
Tools:
- Measuring tape – To measure your space accurately
- Tile cutter or wet saw – To cut tiles to fit around edges and corners
- Notched trowel – For spreading mortar
- Rubber mallet – To gently tap tiles into place
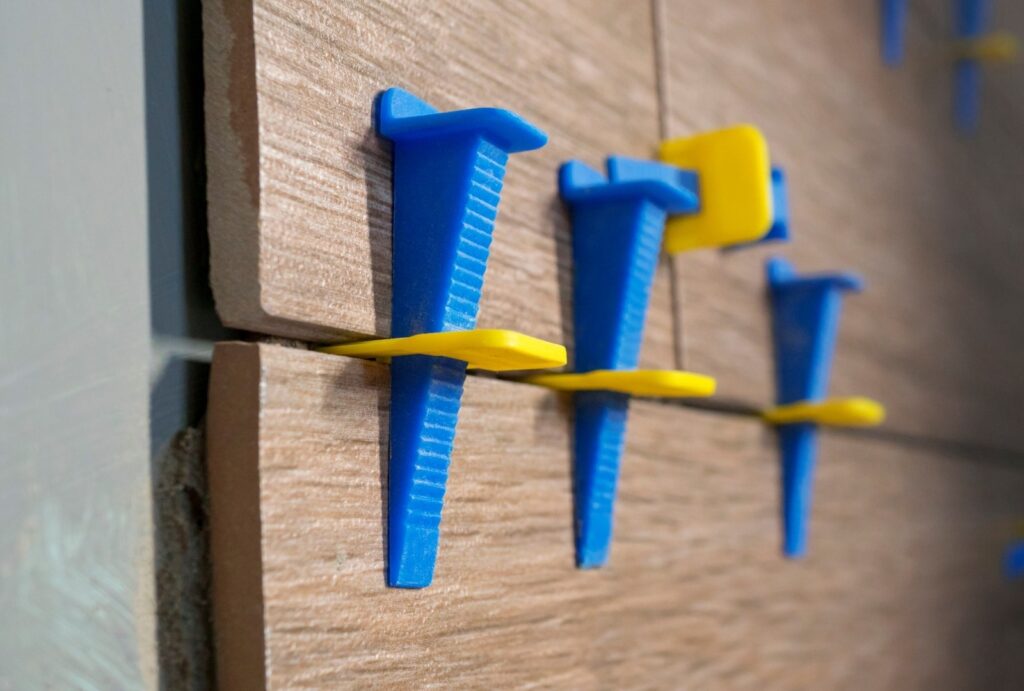
- Tile spacers – To ensure even grout lines
- Level – To check that your tiles are laid evenly
- Grout float – To spread grout evenly into the joints
- Sponge and bucket – For cleaning excess grout off the tiles
- Tile adhesive (thin-set mortar) – To secure the tiles to the floor or wall
- Grout – To fill the gaps between the tiles
Materials:
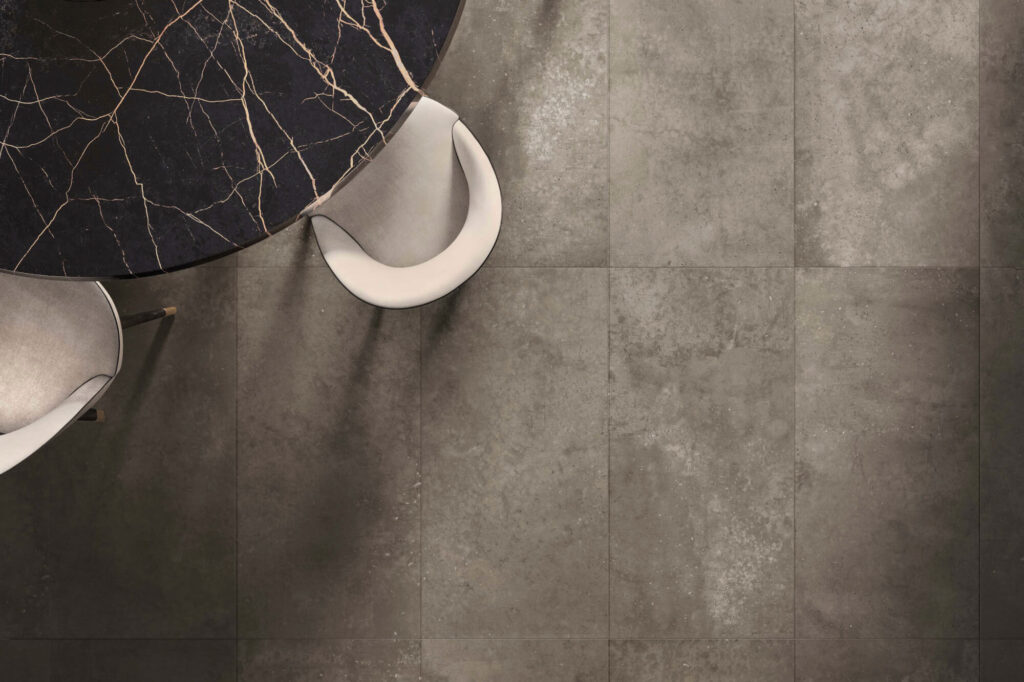
- Tiles – Choose the right tiles for your project. Whether it’s ceramic, porcelain, or natural stone, Plaza Ontario has a variety of options.
- Grout – You’ll need grout to fill the spaces between your tiles. Choose a grout color that complements your tile selection.
- Tile adhesive – This is essential for holding your tiles in place.
Step-by-Step Guide to Laying Tile
- Prepare Your Surface: Start by cleaning and prepping the surface where you’ll be laying your tiles. The area should be dry, smooth, and free from debris. If you’re tiling a floor, make sure the surface is level. You may need to apply a leveling compound if there are any dips or high spots.
- Measure and Mark: Use your measuring tape to find the centre of the area you’re tiling. Mark this point on both walls (for walls or floors) and snap a chalk line to ensure the tiles are laid evenly. This is your reference line for the first row of tiles.
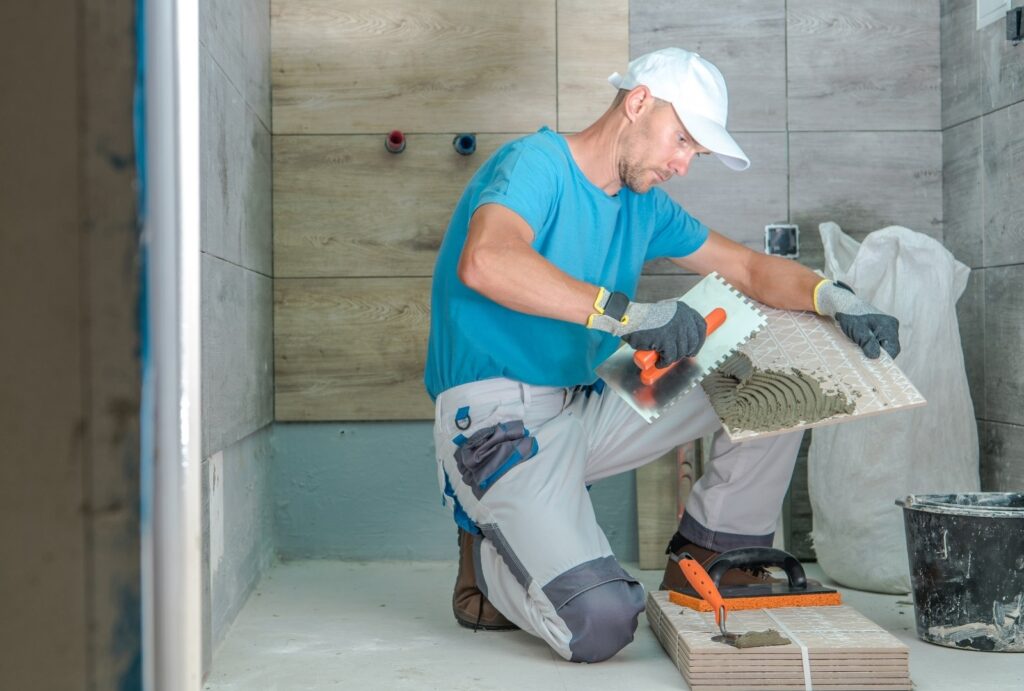
- Apply the Tile Adhesive: Using the notched trowel, spread a layer of tile adhesive over a small section of your surface. Start from the centre and work outward in sections so the adhesive doesn’t dry out before you place the tiles.
- Lay Your Tiles: Start placing the tiles along your reference line. Press each tile down firmly, using a gentle tapping motion with the rubber mallet to set them into the adhesive. Use tile spacers between each tile to ensure uniform gaps for the grout.
- Cut Tiles for Edges: When you reach the edges of the space, you’ll need to cut tiles to fit. This is where having a tile cutter or wet saw comes in handy. Be sure to measure carefully before cutting to avoid wasting tiles.
- Let the Adhesive Set: After all the tiles are laid, let the adhesive set for at least 24 hours before grouting. This will ensure that the tiles are securely fixed in place.
- Grouting: Once the adhesive is fully set, remove the tile spacers and apply the grout using a grout float. Spread the grout into the spaces between the tiles at a 45-degree angle, ensuring the joints are filled completely. After the grout is applied, wipe away excess grout with a damp sponge, being careful not to disturb the grout lines.
- Final Clean-Up: Once the grout has dried (typically 24 hours), you can give the tiles a final cleaning. Use a dry cloth to buff the tiles and remove any grout haze left behind.
Is DIY Tile Installation Right for You?
While laying tile can be a satisfying DIY project, it requires patience, precision, and the right tools. If you’re not sure if you want to invest in all the necessary equipment or if you’re concerned about the risk of errors, consider the challenges involved. DIY tile installation can be rewarding, but there’s always the potential for mistakes.
Need Help? We’ve Got You Covered!
If you’re ready to give DIY a try, Plaza Ontario has everything you need—from tile to grout, our showroom is packed with a variety of options, and our team is happy to help you choose the perfect fit for your space.
However, if you’d prefer to skip the hassle and ensure a flawless result, don’t worry! Plaza Ontario also offers professional installation services. Our experienced team will handle the entire process, from measuring and prepping the space to laying and grouting your tiles. You can sit back, relax, and enjoy your dream renovation with no stress.
Ready to Transform Your Home?
Visit us today at Plaza Ontario in Windsor or shop our extensive selection of tiles and supplies online. For expert advice or a free consultation, give us a call at (519) 966-4213!